
Calibrating exposure times for clear and translucent resins is more delicate than dialing in standard gray resin because light travels through these materials more easily. That extra light transmission can make tiny details look swollen, close small holes, blur edges, or create glossy but inaccurate prints.
The goal is not simply to find the longest exposure that “works.” A clear resin can look successful at first glance while still being overexposed enough to lose fine text, small vents, thin panel lines, or miniature details. For transparent and tinted resins, the best setting is usually the lowest stable exposure that gives proper layer bonding without excessive light bleed.
This matters even more when printing display parts, lenses, scale model windows, custom car parts, jewelry masters, fluid channels, or any object where clarity and dimension matter. A print that is slightly overcured may survive the build plate, but it can become harder to sand, polish, assemble, or fit into another part.
This guide explains how to calibrate normal exposure, bottom exposure, lift settings, and post-curing habits for clear and translucent resin. It also shows how to read calibration prints, avoid misleading results, and decide when the problem is not exposure at all.
Before changing settings, remember that every resin, printer, screen age, room temperature, layer height, and slicer profile can affect results. Manufacturer settings are useful starting points, but they are not a final answer for every machine.
Important safety note: uncured resin can irritate skin and eyes, and resin printing should be done with gloves, eye protection, ventilation, and careful cleanup. Always follow the safety data sheet and handling instructions from the resin manufacturer before printing, washing, sanding, or curing resin parts.
Why Clear and Translucent Resins Need Different Exposure Calibration
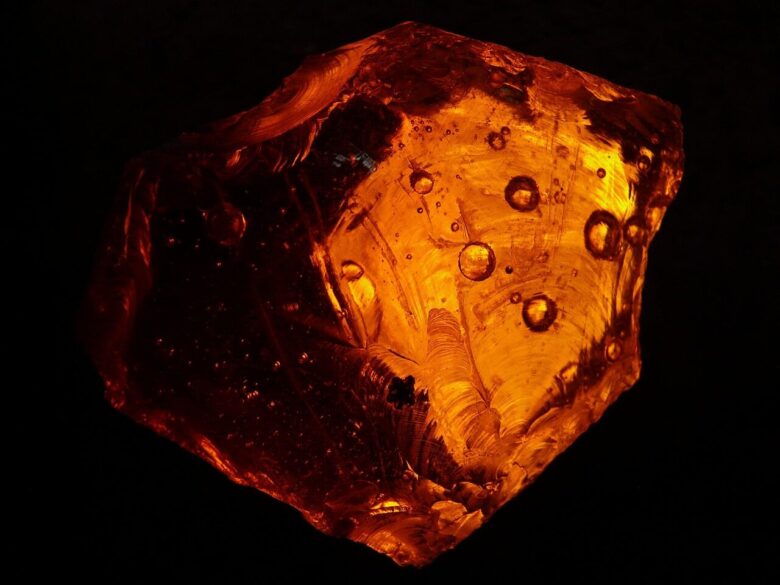
Clear and translucent resins behave differently because they allow more UV light to pass through the liquid and partially cured layers. In opaque resin, pigments help limit light spread. In clear resin, light can scatter deeper and sideways, which may cure areas that were not meant to receive as much energy.
This is why a setting that works beautifully for gray, beige, or black resin may overcure clear resin. Small holes can close, engraved text can disappear, edges can become rounded, and thin mechanical gaps can tighten. The print may still stick to the plate and look clean, but dimensional accuracy can suffer.
Translucent colored resins add another variable: pigment concentration. A pale blue translucent resin may behave closer to clear resin, while a darker smoky translucent resin may need more exposure because the pigment blocks more light. Two resins that look similar in the bottle can print differently.
| Resin type | Exposure behavior | Main calibration risk |
|---|---|---|
| Water-clear resin | Allows strong light transmission and internal scattering. | Overexposure can blur fine details and close small gaps. |
| Light translucent resin | Still transmits light, but pigment may reduce bleed slightly. | Settings may look acceptable while small features are still swollen. |
| Dark translucent resin | Blocks more light than clear resin and may need more exposure. | Underexposure can cause weak supports, soft edges, or layer separation. |
| Opaque resin | Pigments limit light penetration more strongly. | Settings from opaque resin should not be copied blindly to clear resin. |
Prepare the Printer Before Testing Exposure Times
Exposure calibration only works when the printer is mechanically ready. If the build plate is not leveled, the FEP or release film is damaged, the vat is dirty, or the resin is cold, the calibration result can point you in the wrong direction. Many exposure problems are actually setup problems.
Clear resin also makes contamination easier to notice. Small cured flakes, dust, pigment from a previous resin, or cloudy residue from old alcohol can affect the surface finish. Before running exposure tests, filter resin if a recent print failed and clean the vat carefully without scratching the film.
Temperature is another common issue. Resin that is too cold usually flows more slowly and may separate from the film less predictably. This can look like underexposure, especially on thin supports or small calibration pillars. Keep the resin and printer environment within the range recommended by the resin manufacturer.
- Shake or mix the resin thoroughly before pouring it into the vat.
- Confirm that the build plate is clean, dry, and properly leveled.
- Inspect the release film for dents, cloudy areas, deep scratches, or stuck cured resin.
- Use clean wash liquid so residue does not hide calibration details.
- Keep room temperature stable during the entire test.
- Use the same layer height you plan to use for real prints.
- Start from the manufacturer’s suggested range when available.
How to Calibrate Exposure Times for Clear Resin Step by Step
The safest way to calibrate clear resin is to test one variable at a time. Normal layer exposure should be adjusted separately from bottom exposure, lift speed, post-cure time, and support settings. Changing everything together makes the result hard to read.
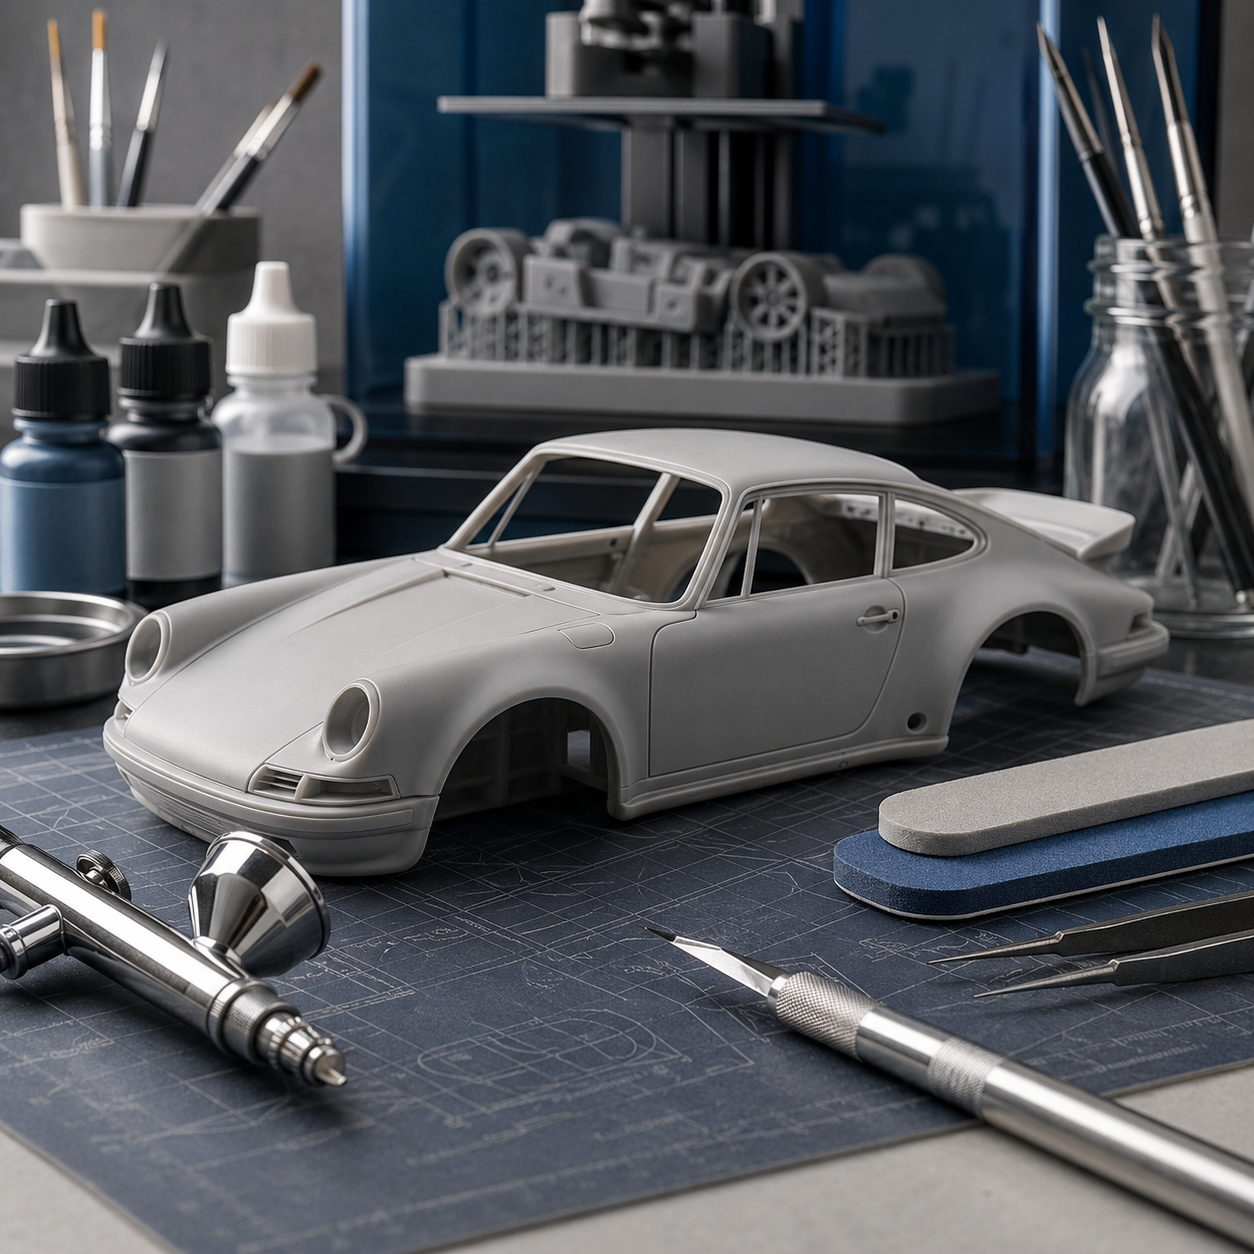
Use a calibration model that includes both raised and recessed details, small holes, thin posts, flat surfaces, and dimensional features. A simple flat exposure matrix can help you find a range quickly, while a more detailed calibration model can confirm whether that range works for real geometry.
For clear resin, avoid judging only by whether the print completes. A completed print can still be overexposed. Look for sharp edges, open gaps, clean negative details, straight thin features, and supports that are strong enough without merging into the model.
-
Choose a realistic starting exposure.
Begin with the resin manufacturer’s recommendation or a conservative profile for a similar clear resin on the same type of printer. Do not copy settings from opaque resin unless you have no other starting point, because clear resin often needs a different balance.
-
Print an exposure range test.
Use a resin exposure finder, RERF-style test, or multiple small calibration pieces with different normal exposure values. Keep layer height, lift speed, bottom layers, and anti-aliasing unchanged so the only meaningful difference is exposure.
-
Wash the test consistently.
Clean each test part the same way. Underwashed clear resin can leave sticky residue in holes and grooves, making a good exposure look overexposed. Overwashing fragile test pieces can break small features and make exposure look too low.
-
Inspect before heavy post-curing.
Check details after washing and drying but before long post-curing. Strong post-cure can harden residue, shift appearance, or make small defects harder to interpret. Use a magnifier if the calibration model has fine text or tiny openings.
-
Identify the lowest stable exposure.
Look for the shortest exposure that keeps pillars, supports, and thin details intact while preserving holes, gaps, and sharp edges. If two settings both work, choose the lower one for detail parts and the slightly higher one for heavier functional prints.
-
Confirm with a real sample part.
After choosing a setting, print a small section of the actual model or a part with similar wall thickness, supports, and details. Calibration pieces are useful, but real geometry reveals suction, support load, and fit issues more clearly.
-
Save the profile with notes.
Record resin brand, resin color, printer model, layer height, room temperature, normal exposure, bottom exposure, lift settings, and post-cure method. This prevents repeating the same calibration every time you use that resin.
How to Read Calibration Prints Without Being Misled
Clear resin can be visually confusing because its surface, transparency, and gloss can hide small errors. A part may look beautiful when wet but show soft edges after drying. It may also look slightly cloudy after washing, which is not always an exposure issue.
When reading a calibration print, focus on geometry first and appearance second. Sharp corners, open holes, clean slots, readable engraved text, and consistent supports are more useful than judging whether the part looks perfectly transparent straight from the printer.
Use side lighting or a dark background to inspect clear parts. This makes edges and internal details easier to see. A magnifying glass, macro photo, or caliper can reveal overexposure that is not obvious by eye.
| What you see | Possible cause | What to check first |
|---|---|---|
| Small holes are closed or too tight. | Normal exposure may be too high, or light bleed is excessive. | Reduce exposure slightly and retest with the same wash routine. |
| Thin pillars fail or supports break. | Normal exposure may be too low, resin may be cold, or lift force may be too aggressive. | Check temperature and lift settings before increasing exposure too much. |
| Edges look rounded and text is soft. | Overexposure, high anti-aliasing, or excessive light scattering. | Lower exposure and review blur, gray offset, or anti-aliasing settings. |
| Flat surfaces are sticky after washing. | Incomplete washing, old solvent, or insufficient cure. | Use cleaner wash liquid and let the part dry fully before judging exposure. |
| Layers split or peel during printing. | Underexposure, weak bottom settings, suction, poor supports, or cold resin. | Review supports, orientation, temperature, and exposure together. |
| Part is cloudy after curing. | Surface texture, trapped solvent, sanding scratches, or over-aggressive washing. | Let the print dry completely and polish or clear coat if optical clarity is required. |
Adjusting Bottom Exposure, Lift Settings, and Layer Height
Normal exposure controls most of the model, but bottom exposure controls how strongly the first layers bond to the build plate. Clear resin can need careful bottom settings because overdone burn-in layers may create an elephant foot that distorts the base of small parts.
If the print falls from the plate, do not immediately raise normal exposure. First check plate leveling, plate cleanliness, bottom layer count, bottom exposure, lift speed, and model orientation. A failed first layer is usually related to adhesion, not the exposure used for the whole model.
Layer height changes the required exposure. A thicker layer usually needs more energy than a thinner layer, while very thin layers may reveal more light bleed if exposure is not reduced. Always calibrate at the layer height you actually plan to print.
- Use bottom exposure only to secure the part to the build plate, not to fix weak model details.
- Reduce bottom exposure if the base is swollen, difficult to remove, or damaging fine first-layer geometry.
- Increase bottom exposure gradually if the raft separates from the build plate.
- Lower lift speed or increase rest time if parts fail despite correct exposure.
- Recalibrate normal exposure after changing layer height.
- Avoid using very high bottom exposure on delicate transparent parts with visible bases.
Common Mistakes When Calibrating Clear and Translucent Resin
One of the biggest mistakes is chasing maximum strength instead of balanced exposure. More exposure can make a calibration part survive, but it can also destroy the details that made the resin useful in the first place. For display pieces and precise parts, accuracy matters as much as adhesion.
Another common mistake is judging the test while the part is still wet. Freshly washed clear resin can look glossier and more transparent than it will after drying. Residual alcohol or water can also sit inside holes and slots, making the result look worse or better than it really is.
A third mistake is assuming every translucent resin behaves like clear resin. A smoky, amber, red, or blue translucent resin may absorb light differently. Even within the same brand, color changes can require a new calibration profile.
| Mistake | Why it causes problems | Better approach |
|---|---|---|
| Using opaque resin settings blindly. | Clear resin may receive too much effective light due to transmission and scatter. | Use opaque settings only as a rough starting point and run a dedicated test. |
| Increasing exposure after every failure. | Failures can come from supports, temperature, suction, or lift settings. | Diagnose the failure location before changing exposure. |
| Post-curing before inspecting details. | Heavy curing can hide residue problems and make small defects harder to read. | Inspect after washing and drying, then cure consistently. |
| Testing only one exposure value. | A single test gives no comparison and can make a bad profile look acceptable. | Print a controlled exposure range with small differences between values. |
| Ignoring room temperature. | Cold resin may flow poorly and mimic underexposure. | Keep conditions stable and record them with the profile. |
Fine-Tuning for Clarity, Detail, and Dimensional Accuracy
Exposure calibration affects detail, but it does not create perfect transparency by itself. Clear prints often need correct orientation, careful washing, full drying, controlled post-curing, sanding, polishing, or clear coating to become optically clear.
If your goal is dimensional accuracy, measure the calibration part with calipers instead of relying only on visual inspection. Light bleed can make pegs too large and holes too small. This matters for snap-fit parts, model windows, hinges, sockets, and inserts.
If your goal is visual clarity, avoid overexposure and avoid rough support marks on visible faces. Orientation can matter as much as exposure because layer lines, suction marks, and support scars can scatter light. A slightly longer print time may be worth it if it reduces cleanup on visible transparent surfaces.
For display parts
Choose the lowest exposure that prints cleanly, orient visible surfaces away from supports when possible, and use careful finishing. A beautiful transparent part can be ruined by support scars, scratches, or cured residue.
For functional translucent parts
Use a slightly more conservative profile if the part carries load, has thin walls, or must survive handling. However, avoid using exposure as the only strength solution. Better orientation, thicker supports, and improved drainage may solve the problem with less loss of detail.
When Exposure Is Not the Real Problem
Not every defect in clear resin comes from exposure time. This is especially important because clear resin makes people blame light bleed for almost everything. In practice, many problems come from washing, supports, film condition, resin temperature, or post-processing.
If a print fails in the same area repeatedly, look at the model orientation and support strategy. If failures happen randomly across the plate, inspect the vat film, build plate, screen, and resin condition. If details are soft everywhere, exposure or slicer image settings may be more likely.
Cloudiness is a good example. A cloudy clear print may be caused by microscopic layer lines, sanding scratches, trapped solvent, incomplete drying, aggressive post-curing, or resin formulation. Lowering exposure will not automatically make the part transparent.
| Problem pattern | More likely related to exposure? | Other likely causes |
|---|---|---|
| All holes are consistently too small. | Yes, often overexposure or light bleed. | Anti-aliasing, blur settings, resin type, or screen light spread. |
| Only one side of the plate fails. | Not usually. | Build plate leveling, screen uniformity, film wear, or uneven pressure. |
| Supports detach from the model. | Sometimes. | Support tip size, lift speed, suction, orientation, or cold resin. |
| Part looks cloudy but dimensions are correct. | Not usually. | Washing, drying, sanding, polishing, curing, or surface texture. |
| Fine details are swollen across the whole print. | Yes, often overexposure. | Light bleed, excessive anti-aliasing, or translucent resin behavior. |
When to Seek Manufacturer Support or Professional Help
If calibration results remain inconsistent after several controlled tests, it may be time to check the printer rather than the resin. A weak screen, uneven light source, damaged release film, loose Z-axis, or inaccurate build plate can make exposure calibration unreliable.
Contact the printer manufacturer if the same resin prints differently across the build plate, if exposure tests fail in a fixed area, or if normal profiles suddenly stop working after many hours of printing. These signs can indicate screen wear, optical issues, mechanical movement, or firmware-related behavior.
For professional uses such as dental models, engineering prototypes, fluid-contact parts, optical components, or parts exposed to heat or mechanical load, confirm resin suitability with the manufacturer’s technical documentation. Exposure calibration can improve print quality, but it does not turn a general-purpose clear resin into a certified engineering material.
Conclusion
Calibrating exposure times for clear and translucent resins requires more care than calibrating opaque resin because light can travel through the material and cure beyond the intended area. The best result usually comes from controlled testing, careful inspection, and small adjustments rather than simply increasing exposure until the print survives.
Start with a reliable manufacturer range, run an exposure test at your real layer height, inspect fine details before heavy post-curing, and confirm the result with a practical sample part. For clear resin, the winning setting is the one that balances adhesion, detail, open gaps, and dimensional accuracy.
If problems continue after proper calibration, check temperature, supports, lift settings, vat condition, build plate leveling, washing, and post-curing. When prints are for professional, safety-critical, or material-specific applications, verify the resin documentation or contact the manufacturer before relying on the final part.
FAQ
1. Why does clear resin often need different exposure settings?
Clear resin often needs different exposure settings because it allows more UV light to pass through and scatter inside the material. This can cure areas slightly beyond the intended shape, especially around holes, engraved text, small gaps, and thin edges. Opaque resin contains pigments that help limit this light spread, so settings from gray or black resin may overexpose clear resin. A dedicated calibration test helps find the lowest stable exposure that still prints supports and details correctly without closing small features.
2. Should clear resin use more or less exposure than opaque resin?
There is no universal answer because resin formulation, color, printer type, layer height, and screen power all matter. In many situations, clear resin can appear overexposed at settings that work for opaque resin because light travels through it more easily. However, some transparent or engineering resins may still require longer exposure due to their chemistry. The safest approach is to start from the manufacturer’s recommended range and run a controlled exposure test instead of assuming clear resin always needs more or less time.
3. How do I know if clear resin is overexposed?
Clear resin is likely overexposed when small holes close, engraved lines disappear, raised details look swollen, edges become rounded, and separate features begin to merge. You may also notice that pegs are slightly too large or slots are too tight. The print may still complete successfully, which can be misleading. For accurate judgment, inspect the calibration model after washing and drying, use side lighting, and compare several exposure values instead of relying on one finished print.
4. How do I know if translucent resin is underexposed?
Translucent resin may be underexposed if thin supports break, small pillars fail, layers split, corners look weak, or the model separates from supports during printing. Underexposure can also show up as soft, flexible, or poorly bonded features after washing. Before increasing exposure, check whether the resin is too cold, whether lift speed is too aggressive, and whether supports are too light. These issues can mimic underexposure and may lead you to raise exposure more than necessary.
5. Can I use the same exposure settings for all translucent colors?
It is not recommended to use the same exposure settings for all translucent colors. A pale transparent blue, smoky gray, amber, red, and clear resin can absorb and scatter UV light differently. Darker translucent pigments may block more light, while very light colors may behave closer to water-clear resin. Even resins from the same brand can need different exposure profiles. If color, brand, or resin type changes, print at least a small calibration test before using the resin for important parts.
Note: this article is educational and focuses on general resin printing calibration principles. Always confirm safety, exposure ranges, post-curing instructions, and material limitations with the resin and printer manufacturer, especially when printing functional, load-bearing, dental, optical, or professional-use parts.
Official References
- AmeraLabs — Town Calibration Part Guide
- Formlabs — Clear Resin Material Information
- ELEGOO — Resin Setting Sheet
- Anycubic — Resin Settings
The LS Resin Lab Editorial Team publishes practical, detailed content about resin automotive models, scale-model painting, 3D-printing troubleshooting, surface finishing, airbrushing, and custom model-building techniques. Our guides are prepared for general educational purposes, with a focus on clear instructions, workshop safety, realistic results, and accessible information for hobbyists with different experience levels.